Last year I bought a stook (a bundle) of retted flax from Flaxland UK. It was a bit of a whim purchase because I did not have the tools to process the flax at the time. I did, however, find a nice big box to store it in (wrapping paper storage boxes are great for this!) while it sat in the garage until I could get the tools I needed. By the summer, I was very kindly gifted some flax that a guild member had grown but didn’t have time to process. I STILL didn’t have any flax processing tools myself and figured it was time to start making some!
Over the year, I made a flax break and three hackles in different grades. I want to share the tools that I made and how I made them because I had a hard time finding information on flax processing tools, existing plans to make my own, or antique tools in good condition that weren’t going to cost a fortune. I want to show that these tools don’t have to be expensive and you can still achieve a very good end product. I hope that readers will be inspired to make their own tools.
I should also caveat this by saying that I’m not the best at building things that look nice. I also don’t have a garage with electricity, so that kind of puts a limit on what tools I can use. Any cutting or shaping was done by hand, although I do have a battery powered electric drill. So for me, the simpler the construction, the better!
Flax break
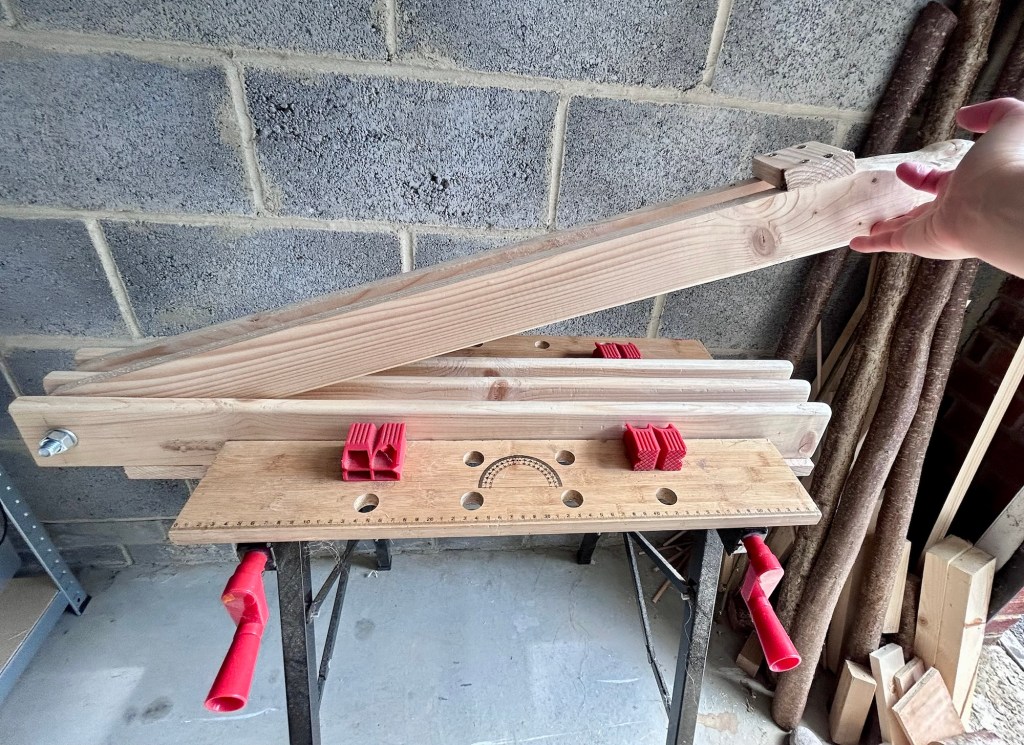
The flax break was the most complicated tool to make. I took inspiration from a post on the Spindles in the Wild blog, which gave me a good idea of how to go about constructing the break and size to aim for. The big difference is that I have three rails on the bottom and two on the top. I’ll be honest, the reason I did this was so that I only had to shape five rails instead of seven but I think the benefit of having an extra set of rails is that the flax breaking goes a bit faster with more? Also, it was a bit awkward making the handle and I essentially ended up with two handles….but eh….it works!
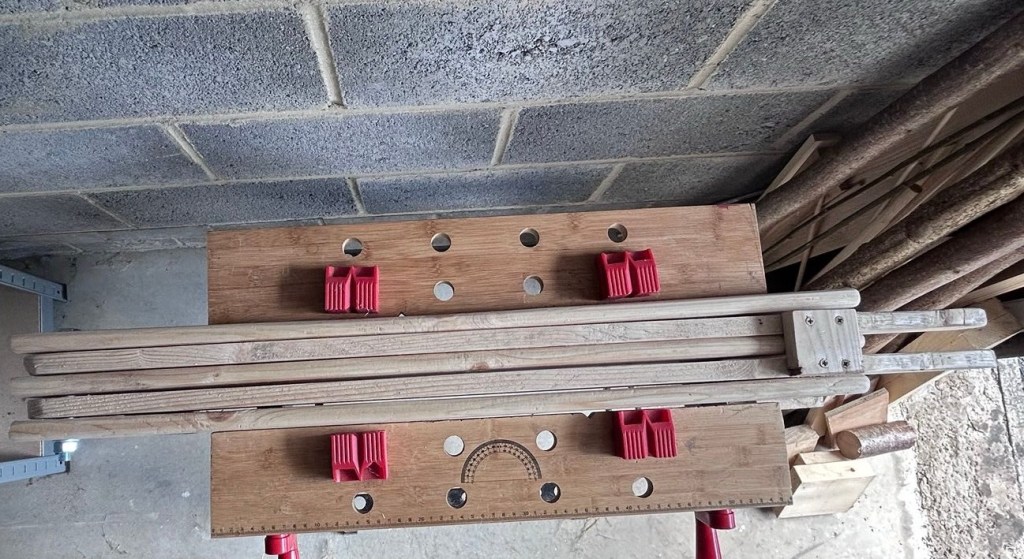
Materials
Here’s a list of the pieces and dimensions of each component of my flax break. I used two boards that measure about 70mm wide and 10mm thick.
- Two boards that measure 70mm wide and 10mm thick
- Steel bolt – 12cm long
- Washer x4 used in construction but have an extra 4 to sandwich temporarily to get the spacing at the handle end correct
- Wing-nut x1
- Screws at least 16 but have some spares just in case!
Construction steps
1. Cut boards to length for bottom rails and top handle/rails.
- Bottom rails x3 – 80cm long
- Top rails x2 – 96cm long
2. Round the edges of the rails. I started out by using a file to do this, which does work but it is slow (a rasp would be better). I then remembered that I have a draw-knife, which got the job done much more quickly. They don’t really need to be rounded all the way to the pivot, just the main working area.
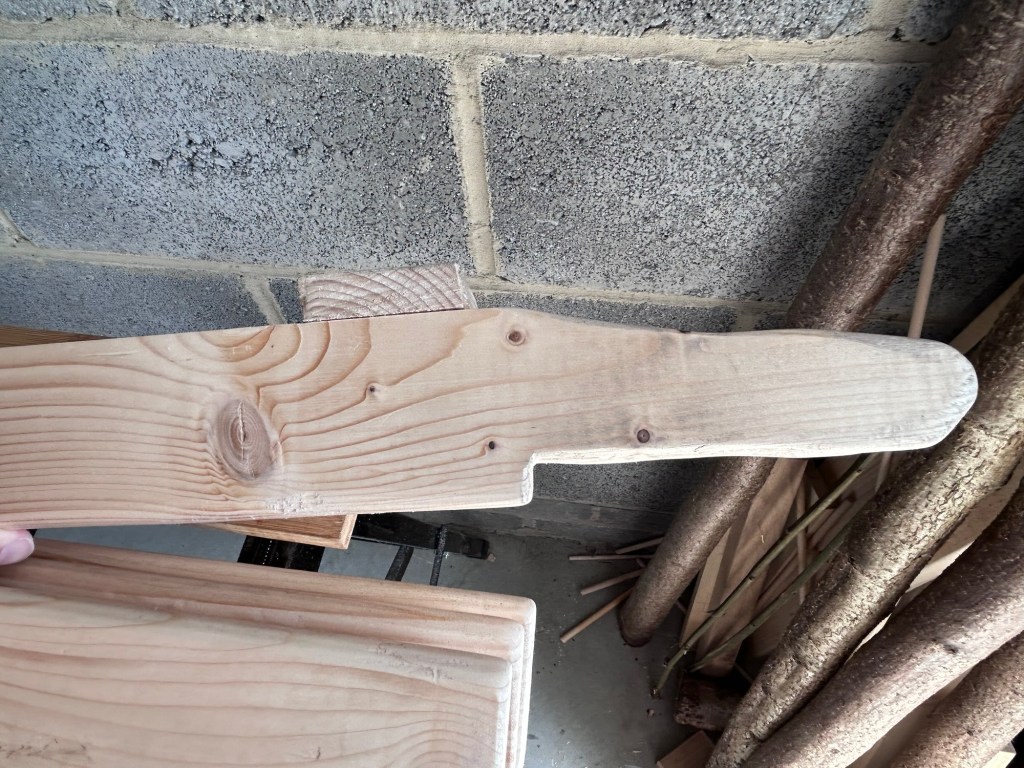
3. Shape the top rail handles. I drew onto one of the top rail pieces the shape of the handle I wanted. I kept mine simple because I was using a combination of my saw and the file to shape it. Again, it’s not pretty (or fast), but it works. I then used the first handle as a template to draw around the second board and then repeated the process.
4. Shape the top rail pivot ends. The ends of the top rails pieces may need to be curved so that they can move when raised up without catching. They just need to be tapered or curved, so just cut away some excess material. This is probably more essential if you’re clamping the break to a solid table but I ended up clamping mine in my work bench, so wasn’t actually necessary.
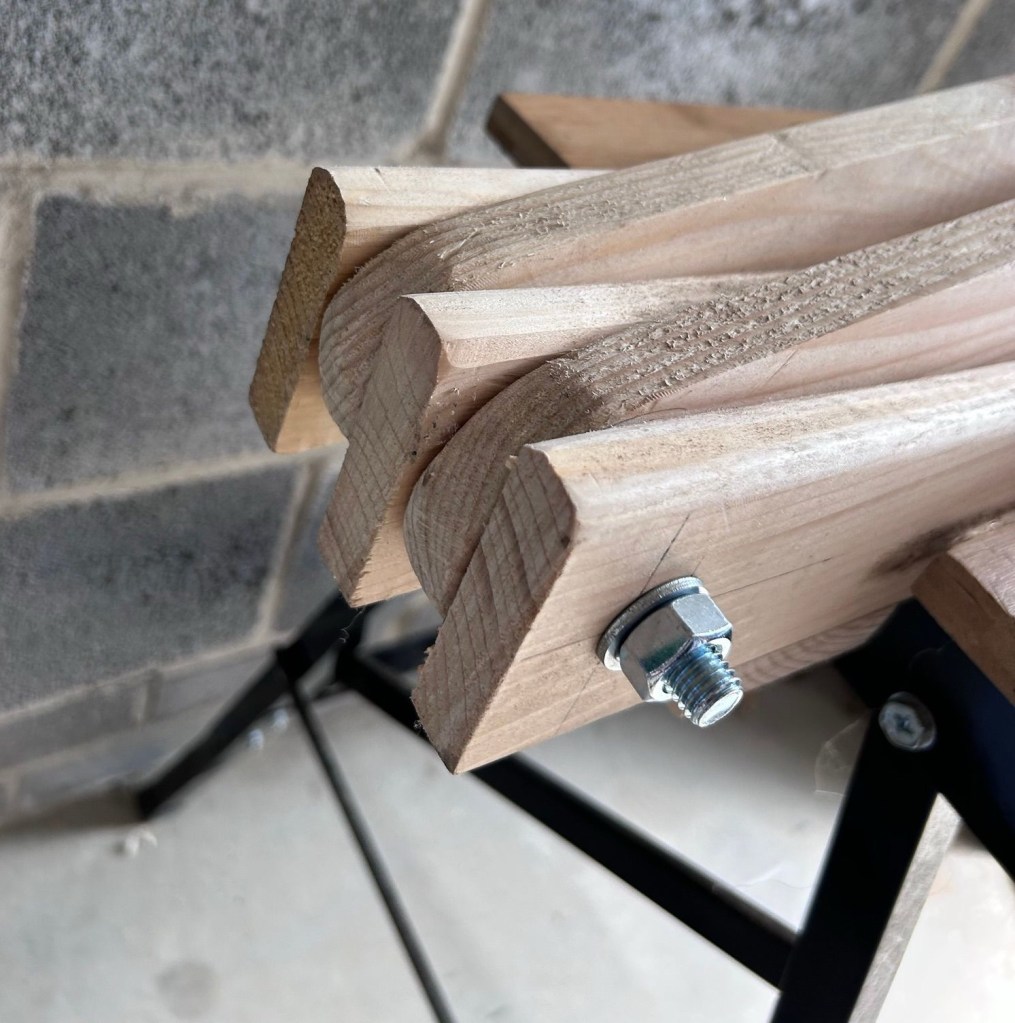
5. Drill hole for the pivot. I drilled the hole about 3cm in from the edge. When assembled, I used a bolt with washers sandwiched in between and a wing-nut at the end. You could also use a dowel rod like on the Spindles in the Wild blog post.
6. Put the bolt in to test fit it. This is to make sure that the boards align correctly and aren’t wonky. Make adjustments if needed.
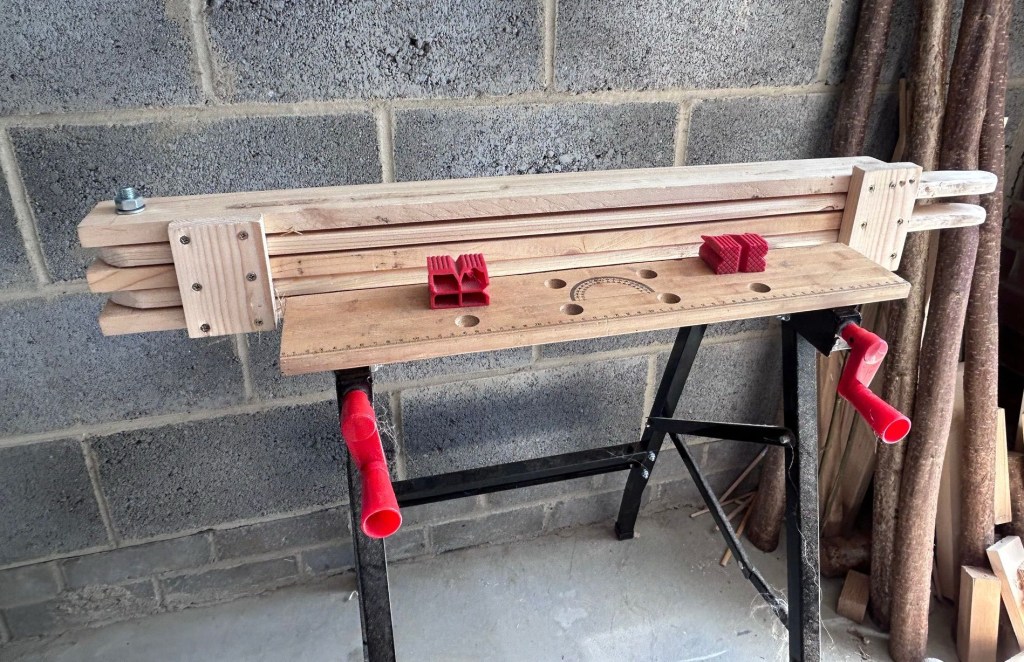
7. Assembly. The three bottom rails and the two top rails are held together by pieces of lumber screwed into place. I did this by putting the bolt into place with large washers. I also put extra washers at the handle end in between each board so that they didn’t get squeezed together. Then I took a short length of lumber (11-12cm long) and screwed it into place underneath at the handle end, followed by a second length of lumber near the pivot end.
If you’re going to clamp the break to a solid table, you may want to make these pieces longer so that you have something to clamp down. I then repeated this for the top cross piece to keep the top rails together.
8. Break all the flax!
When using my flax break, I clamp it into my workbench, which keeps it from moving around. This seems to work really well.
Happy flax breaking!
See my next post to read about how I made my hackles.

Leave a comment